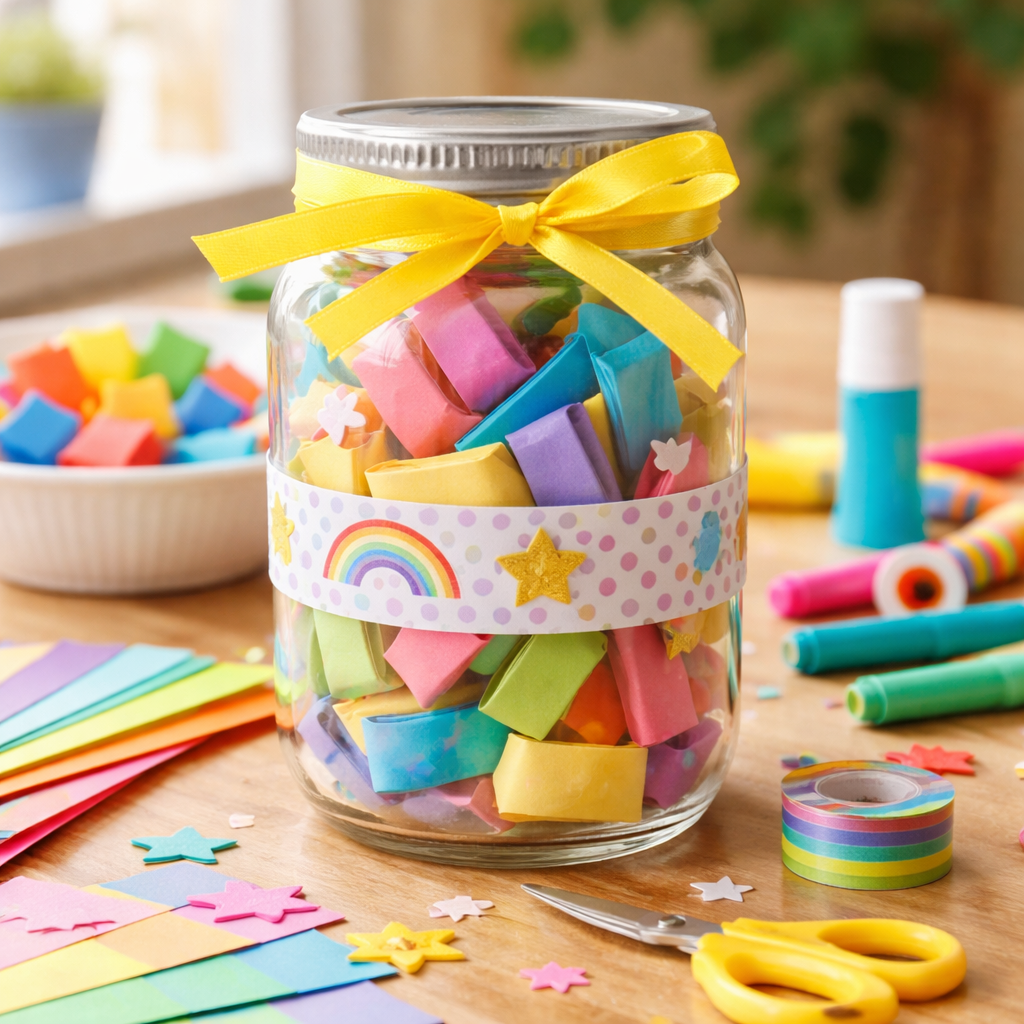
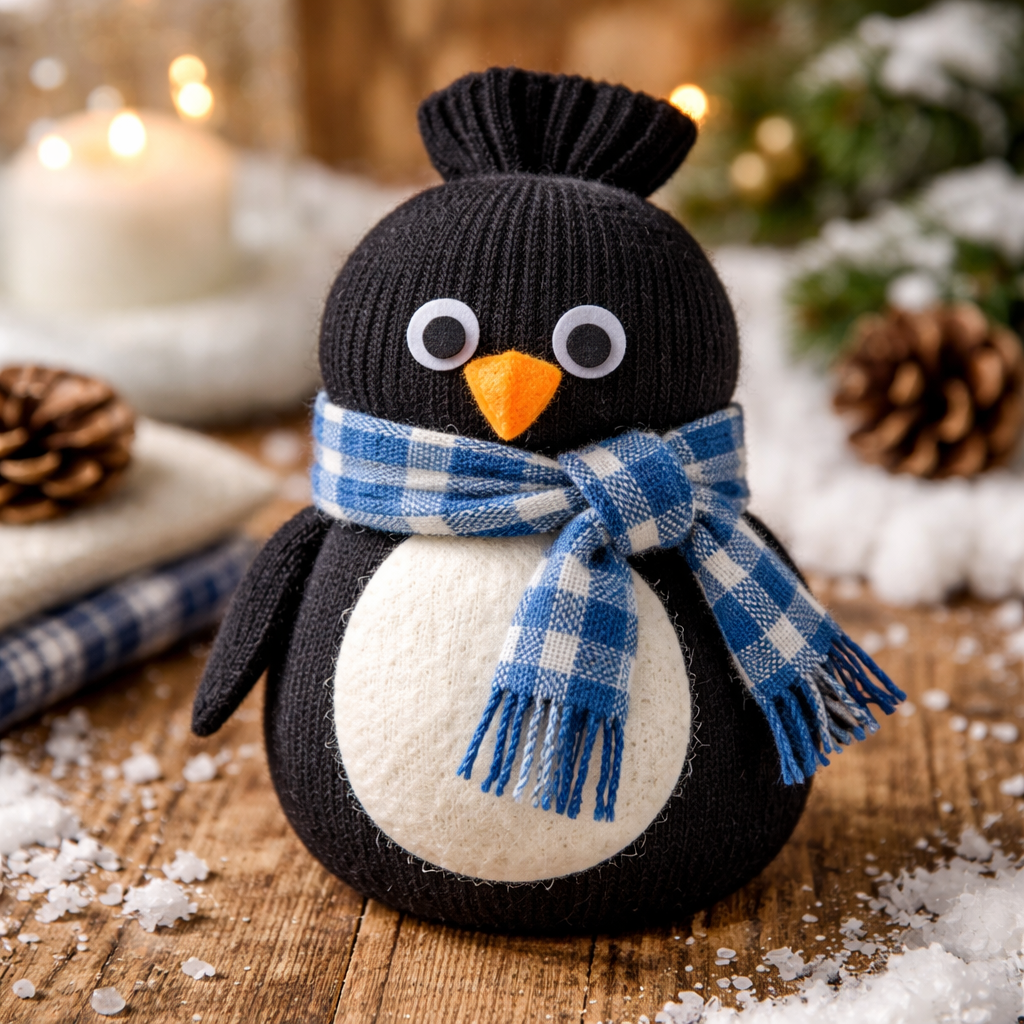
🐧This is a perfect snow-day craft: warm, silly, and easy to pause if hot cocoa breaks are needed. No sewing, no mess, and lots of room for personality.🐧
Materials
- One black or dark sock per penguin (adult socks work best)
- Rice or dried beans (for filling)
- Rubber bands or string
- White felt or white paper
- Orange paper or felt (for the beak)
- Googly eyes or a black marker
- Glue (school glue or tacky glue)
- Small scraps of fabric or ribbon (optional, for scarves)
Step-by-Step Directions (Grandma-Friendly)
- Fill the sock
Have the children hold the sock open while you help pour rice or beans into it. Fill until it’s about ⅔ full so it’s chubby but still soft. - Tie it closed
Twist the top of the sock and secure it tightly with a rubber band or string. This is a good grown-up job to prevent spills. - Shape the penguin
About one-third down from the top, gently pinch the sock and add another rubber band. This makes a head and body. - Add the belly
Cut an oval from white felt or paper. Let the kids glue it onto the front of the body. Remind them not to use too much glue—it sticks better when it’s thin. - Make the face
Glue on googly eyes or draw eyes with a marker. Cut a small triangle from orange paper for the beak and glue it just below the eyes. - Dress for winter (optional but fun)
Tie a scrap of fabric or ribbon around the “neck” to make a cozy scarf. No glue needed here. - Let it rest
Set the penguins aside for a bit so the glue can dry while everyone warms up or reads a story.
Supervision & Snow-Day Tips
- Pouring rice/beans: Little hands may spill—try using a cup and doing it over a tray.
- Rubber bands: These can snap, so it’s best if you handle them.
- Glue control: A reminder that “dots, not puddles” helps a lot.
- Pacing: This is a great stop-and-start craft if kids get restless or excited.