Materials (simple and low-cost)
- 1 paper plate per child 🥣
- Green construction paper (or any green scrap paper) 📄
- Crayons or washable markers 🖍️
- Glue stick or white school glue 🧴
- Child-safe scissors ✂️
- Optional: googly eyes or a black marker 👀
Step-by-Step Directions (Grandma-friendly)
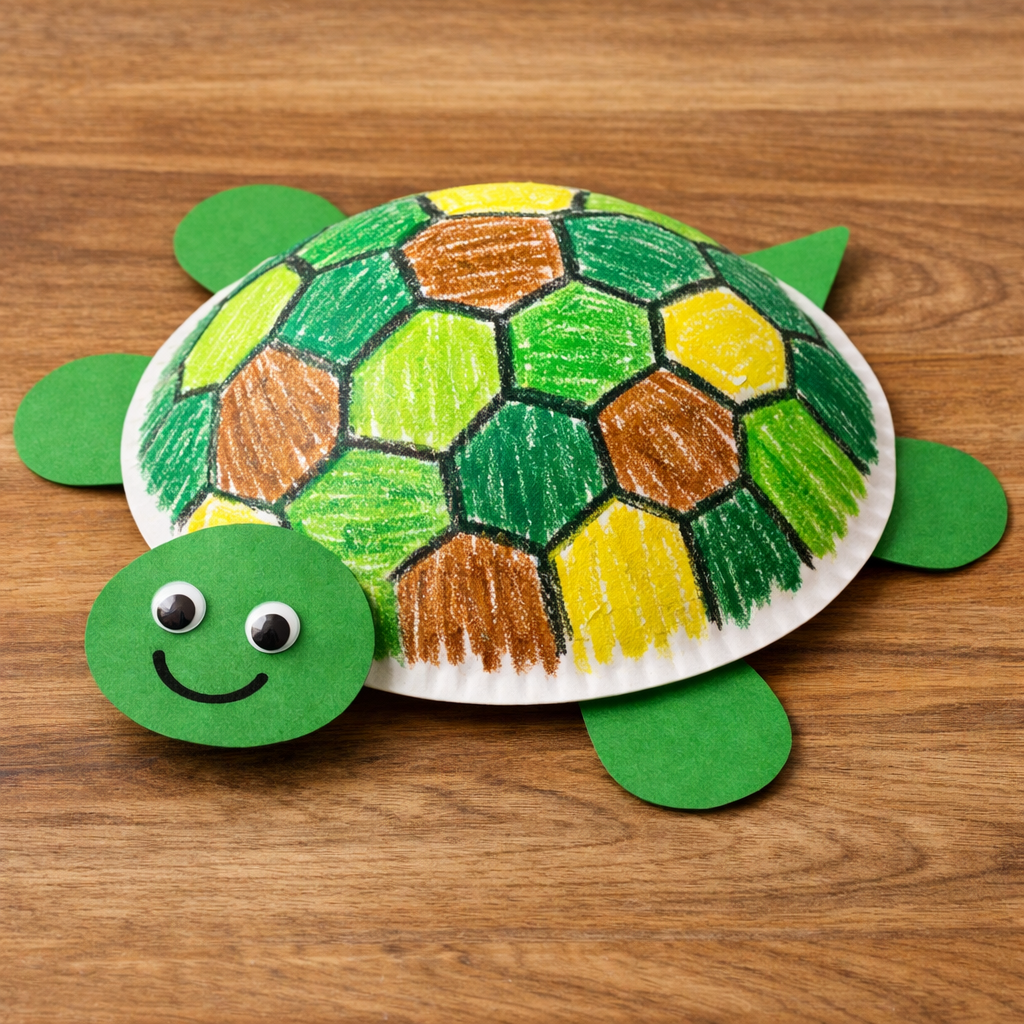
- Color the shell 🐢🎨
Turn the paper plate over (the bumpy side is perfect for a shell!). Let the children color patterns all over it. Circles, lines, or scribbles are all wonderful. - Cut the turtle parts ✂️💚
From green paper, cut one head, four legs, and a small tail.
Little ones may need help holding the scissors or you can pre-cut these pieces. - Glue it together 🧴😊
Help the children glue the head, legs, and tail around the edge of the plate so they peek out from underneath. - Add a face 😄👀
Draw eyes and a smile on the head, or glue on googly eyes if you have them. Turtles love friendly faces! - Let it dry ⏳👐
Set the turtles aside to dry. This is a good moment for a short break or a turtle story.
Helpful Grandma Tips 💡
- Put down newspaper or a placemat before starting to keep cleanup easy 🗞️
- Glue can get slippery—remind little hands to use just a little dab 🧴
- If attention spans are short, do the craft in two parts: decorate first, assemble later 🐢
- Every turtle is special—there’s no “wrong” way to decorate a shell 💕
This sweet turtle craft is perfect for preschool and early elementary ages and makes a lovely fridge decoration or pretend-play toy.